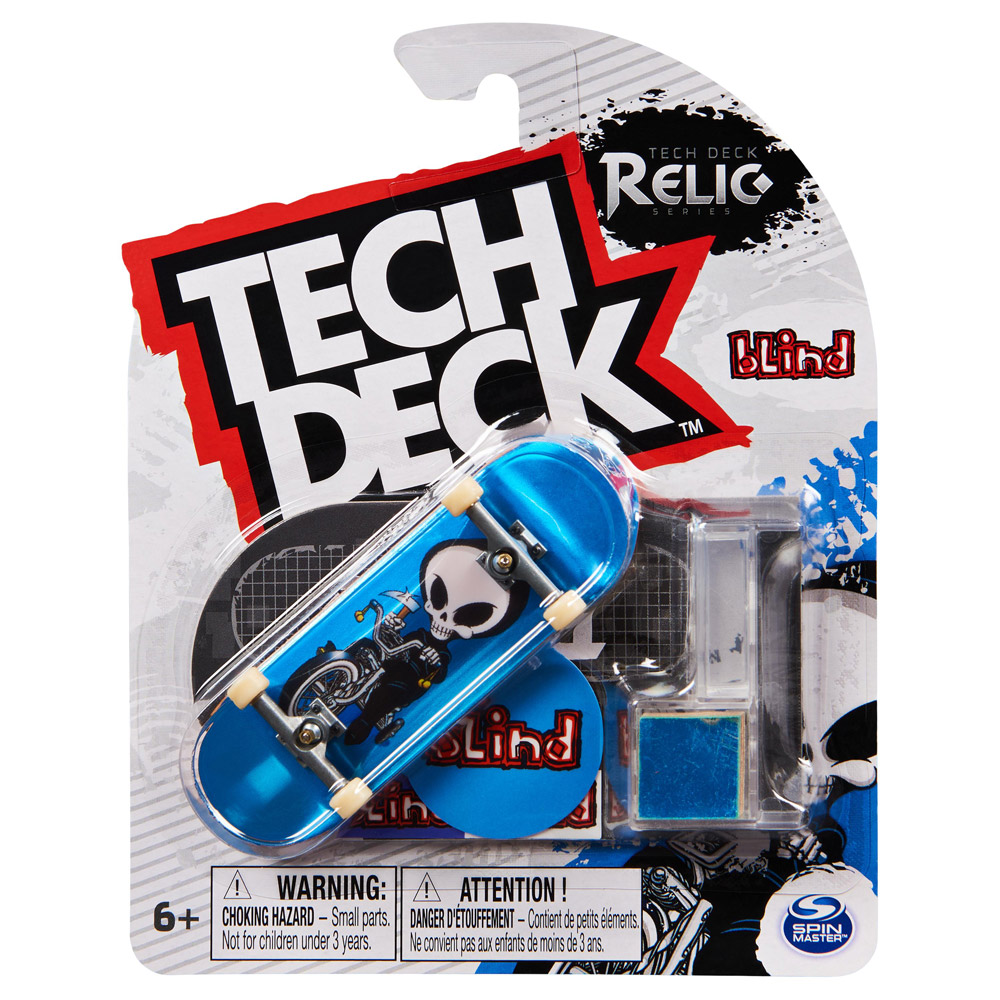
If you’ve ever been interested in skateboarding, chances are you’ve heard of the popular miniature fingerboards known as tech decks. These tiny skateboards have become a staple for skateboard enthusiasts of all ages, providing a fun and challenging way to practice tricks without leaving your room. One of the most fundamental tricks in skateboarding is the Ollie, and learning how to do it on a tech deck is a great way to improve your skills and impress your friends. In this article, we will break down the steps to mastering the Ollie on a tech deck.
Overview of the Ollie on Tech Deck
Before we dive into the step-by-step guide, let’s first understand what an ollie is and why it’s important in skateboarding. An ollie is a trick where the skateboarder uses their back foot to pop the board into the air while sliding their front foot up the board to level it out. This motion allows the skateboarder to jump over obstacles or onto surfaces, making it an essential skill for any skateboarder.
On a tech deck, the same principles apply, but instead of using your feet, you’ll be using your fingers to perform the ollie. This may seem challenging at first, but with practice and patience, you’ll be able to master this trick just like the pros.
1. Setting Up Your Tech Deck
The first step in learning how to do an ollie on a tech deck is preparing your board for the trick. Here’s what you’ll need:
Griptape
Just like a regular skateboard, the grip tape on your tech deck is crucial for maintaining control and stability. Make sure to clean and roughen up the grip tape before attempting the ollie to ensure maximum grip.
Trucks and Wheels
Your trucks (the metal part that holds the wheels) and wheels should be in good condition for the ollie to work correctly. Tighten or loosen your trucks according to your preference, and make sure the wheels are not worn out.
2. Proper Finger Placement
The key to performing a successful ollie on a tech deck is having proper finger placement on the board. Here’s how to position your fingers:
Back Finger
Place your back finger (usually your middle finger) on the tail of the board. This finger will be responsible for popping the board into the air.
Front Finger
Position your front finger (usually your index finger) just behind the front screws of the board. This finger will be used to slide up the board to level it out during the ollie.
3. The Pop
Now that your fingers are in place, it’s time to practice popping the board into the air. Here’s how to do it:
Apply Pressure
Using your back finger, apply pressure to the tail of the board to create a slight bend in the middle.
Flick Your Finger
Release the pressure and quickly flick your finger off the tail in an upward motion. This will cause the board to pop up into the air.
Practice Makes Perfect
This step may take some time to master, so don’t get discouraged if you can’t get the board to pop right away. Keep practicing until you can consistently get the board to pop into the air.
4. The Slide
Once you’ve got the pop down, it’s time to add the slide to complete the ollie. Here’s how to do it:
Sliding Motion
As the board pops into the air, use your front finger to slide up the board towards the nose. This motion will level out the board in mid-air.
Timing is Key
It’s essential to time the slide correctly with the pop to achieve a smooth ollie. Too early, and the board won’t have enough height, too late, and the board will be unbalanced.
5. Sticking the Landing
Now that you’ve got the pop and slide down, it’s time to learn how to stick the landing. Here’s how to do it:
Bend Your Finger
As the board levels out in mid-air, bend your front finger to bring the board back down towards the ground.
Good Balance
Maintaining good balance is crucial for sticking the landing. Keep your fingers steady and make sure the board is leveling out before attempting to land.
Practice Makes Perfect
Sticking the landing may take some practice, but keep at it, and you’ll soon be able to land your ollies like a pro.
Frequently Asked Questions
Q: Is it necessary to have a tech deck to learn how to do an ollie?
A: No, you can also practice the ollie on a regular skateboard or even a flat surface.
Q: Can I use any type of grip tape for my tech deck?
A: Yes, as long as it provides enough grip, you can use any type of grip tape for your tech deck.
Q: Do I have to use my fingers to perform an ollie on a tech deck?
A: Yes, using your fingers is necessary to replicate the motion of a regular ollie.
Q: How long does it take to learn how to do an ollie on a tech deck?
A: It varies from person to person, but with consistent practice, you should be able to master the ollie in a few weeks.
Q: Can I do other tricks on a tech deck besides the ollie?
A: Yes, there are many other tricks you can learn and perform on a tech deck, such as kickflips, heelflips, and manuals.
Conclusion
The Ollie is a fundamental trick in skateboarding, and mastering it on a tech deck is a great way to improve your skills and have fun. It may take some time and practice, but with the proper finger placement, pop, slide, and landing technique, you’ll be able to perform an Ollie on a tech deck like a pro. So get your tech deck out, follow these steps, and start practicing your lollies today!

